
Herb Roasted Turkey Legs

Turkey legs at home are a fun treat because they are one of those things you usually only see at amusement parks, renaissance fairs or on the turkey Thanksgiving Day. Don’t be intimidated by these big guys either, they are quite simple!
Brine Your Meat: You can skip the brine if you are short on time, but it definitely helps create a juicy, tender outcome. The more diluted your brine, the less effect the salt will have. Saying that, if you are short on time but are still trying to squeeze in a shorter brine period, more salt may be in your favor. I usually brine overnight just to get it out of the way, with one less thing to worry about the day I am cooking. However, if you are preparing turkey last minute and you would still like to brine it first, I would definitely give it at least 4 hours. If you are planning ahead, overnight is very convenient and anything up to 24 hours is great.
Lather Up: A very important factor to consider is how you will be seasoning the meat. I am always a fan of less is more. For this recipe, I am doing a herb-roasted leg, so I have many spices and herbs listed. However, sticking with the basics like salt, pepper and butter is always delicious. Regardless of the flavors you end up with, you should coat the meat before cooking, then again a couple times during cooking. This way, you are keeping it juicy as it roasts.
Cooking Comfort: You will want to make sure the pan you will be using is prepared correctly for the perfect outcome. Use a roasting pan with a rack place in it so there is space under the legs to create an air flow. If you don’t have a roasting rack, you can place a cooling rack for baking on a baking sheet. Oh no, you don’t have that one either? It’s okay there’s another solution! Another option is using cut fruits or vegetables like: apples, onions, carrots, or celery. You can place any or some of these on the bottom of a deep roasting pan to create the elevation while adding extra flavor. Now if you don’t even have that on hand, you can always resort to using tin foil to create some elevation so the legs aren’t laying flat on the baking sheet.


Ingredients:
6 turkey legs (5 lbs.)
Brine Ingredients:
¼ cup salt
10-12 cups of water
4 bay leaves
3 whole cloves of garlic, smashed
Rub Ingredients:
½ cup butter (8 tablespoons), melted
¼ sweet onion
¼ cup light soy sauce
1 tablespoon olive oil
1 tablespoon freshly chopped rosemary
1 tablespoon freshly chopped sage
1 tablespoon poultry seasoning
1 tablespoon dried oregano
1 teaspoon garlic salt
1 teaspoon ground black pepper
Instructions:
Place turkey legs in a clean brine bag. Then add bay leaves, salt, garlic, and water. Try to get most of the air out of the bag, seal or twist to close. Place in a large bowl, then keep in the fridge for four to 24 hours.
Once the brine process is complete and you are ready to bake, preheat oven to 350.
In the meantime, create your herbs and butter mixture. Begin with a small mixing bowl. Grate the onion, to create a paste and place in bowl. Then add softened butter, soy sauce herbs and seasonings. Whisk to combine well. Set aside.
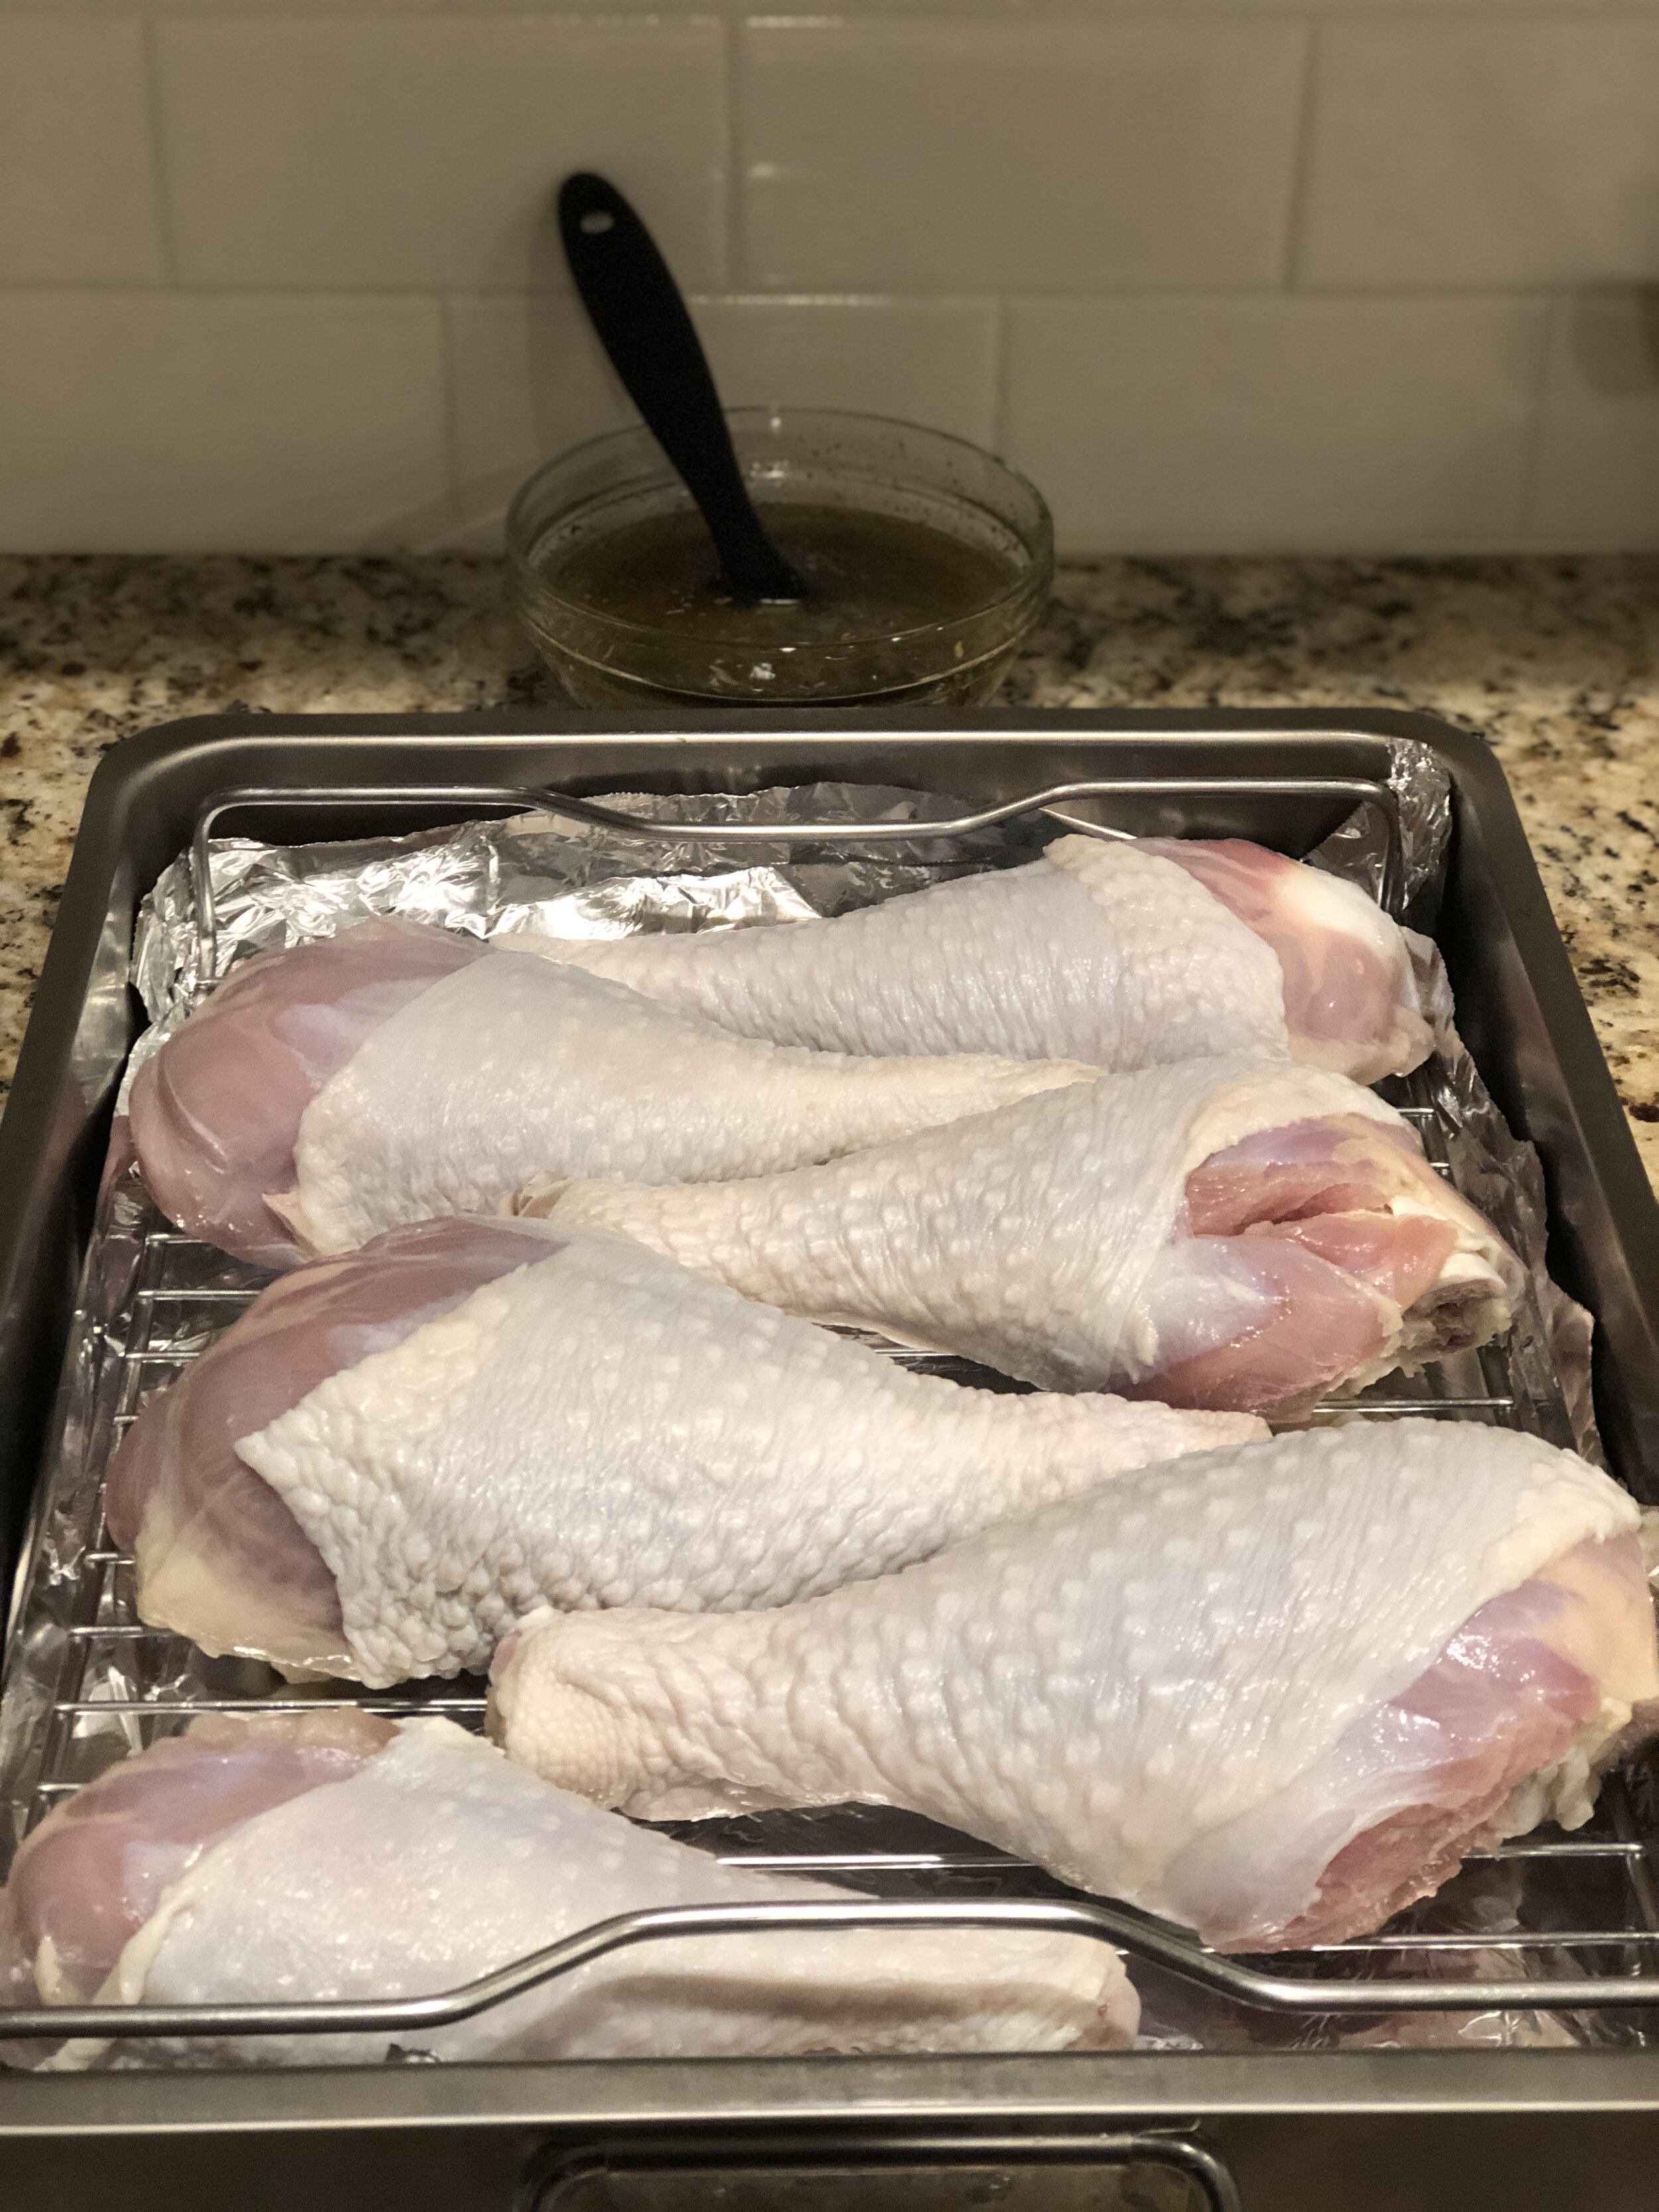
Prepare a pan for the legs. Take a roasting pan and place a rack in it so there is space under the legs to create an air flow. If you don’t have a roasting rack, you can place a cooling rack for baking on a baking sheet. If you don’t have that, you can use tin foil to create some elevation so the legs aren’t laying flat on the baking sheet. Another option is using cut fruits or vegetables like: apples, onions, carrots, or celery. You can place any or some of these on the bottom of a deep roasting pan to create the elevation while adding extra flavor.
Then, open the the brine bag and drain. Rinse the legs, pat dry before seasoning.
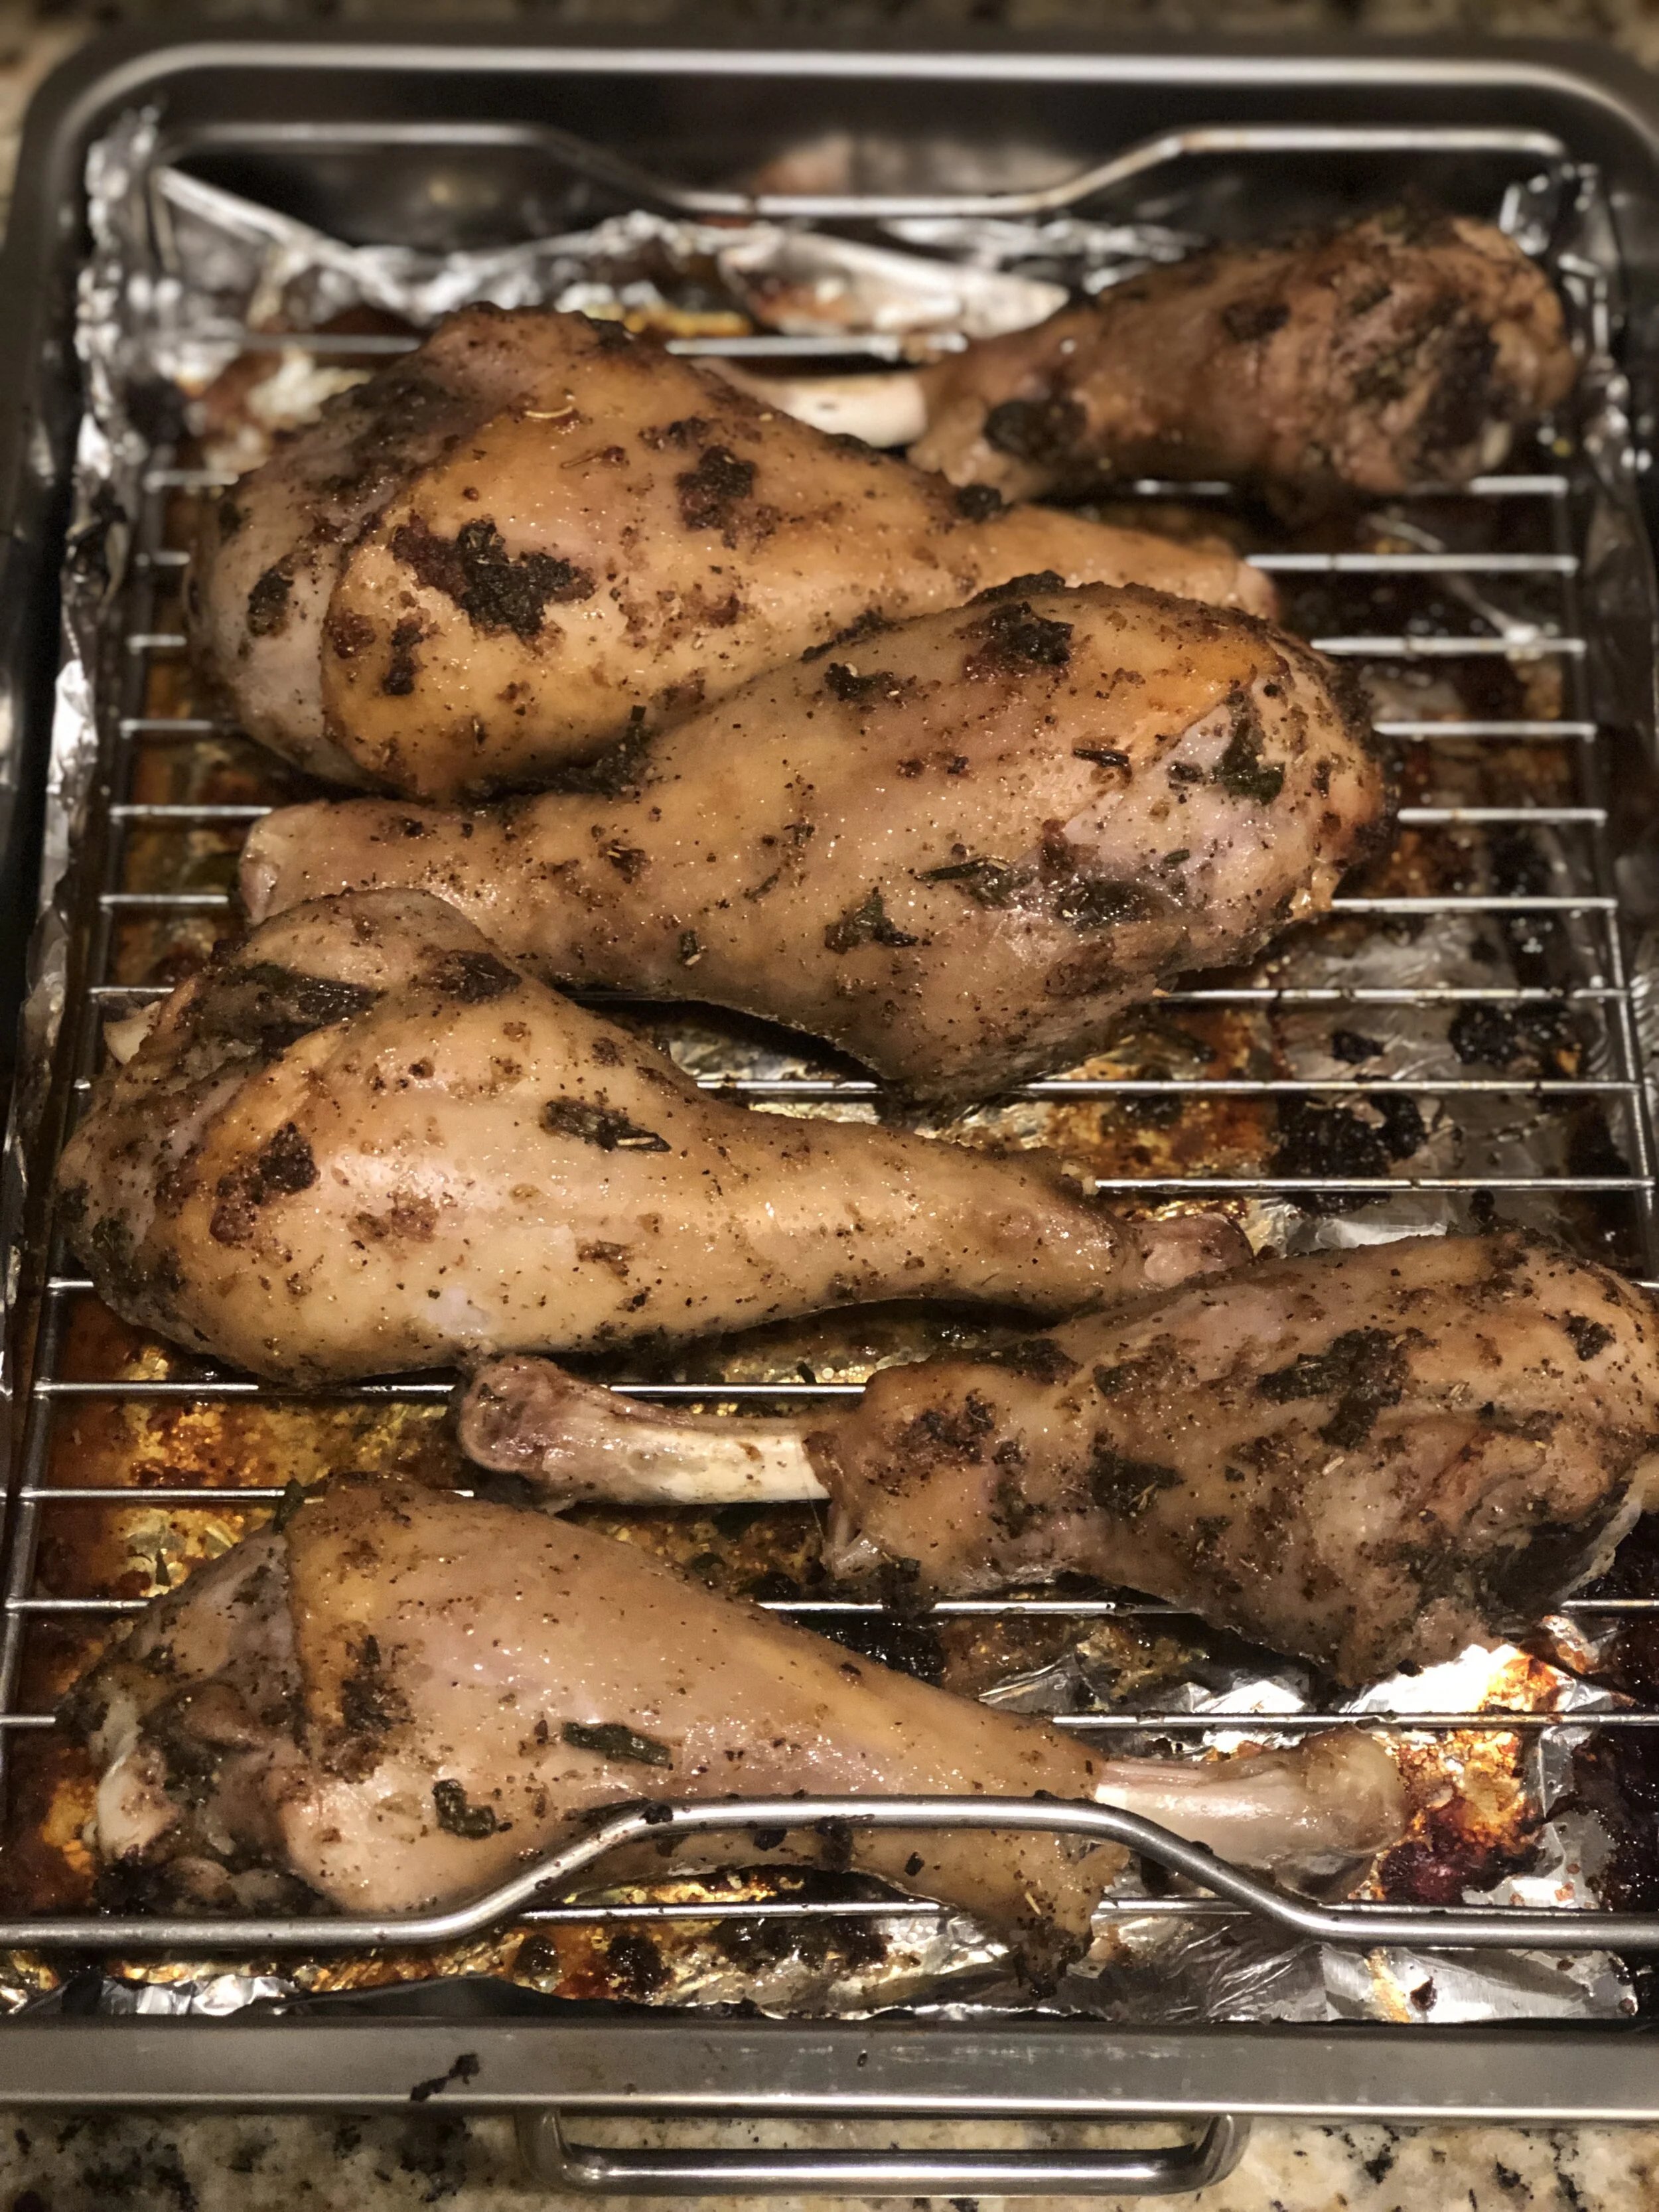
Place the legs on the rack then use a pastry brush to coat each leg. Keep the leftover butter mixture set aside. Then place roasting pan in the oven, cook for two hours. After the first 40 minutes, turn the legs over using tongs. Then rotate once more back to the first side for the last 20 minutes. Once done, the internal temperature should be 165. Also, if you were to cut into one, the juices should run clear, not bloody.
While the turkey legs are cooking, set a timer for every 20 minutes. Use the extra butter mixture, and recoat the legs every 20 minutes while cooking. *Do not coat with this butter mixture when you take them out of the oven once they are done. If you want to do a final coat before serving, create a new, smaller batch of the butter mixture and use a clean brush. Discard the old mixture that was being used with raw meat.
Once the legs are finished cooking, remove from the oven and serve.
We’d love to see your finished product! Post your picture on Instagram, tag us @danimade.kitchen and hashtag it #danimade